
General Information
Trading through IBKR is not officially prohibited for anyone; however, any restrictions are imposed by the broker itself based on criteria known only to them.
Who Cannot Open an Account:
The broker does not work with several territories under U.S. sanctions, including Crimea, Donetsk, Belarus, Cuba, Myanmar, and a few others. Here is the full list.
Required Documents
Open the application submission form on IB - IBKR.COM - in this case, try replacing the domain with .co.uk or .com.hk or use a VPN.
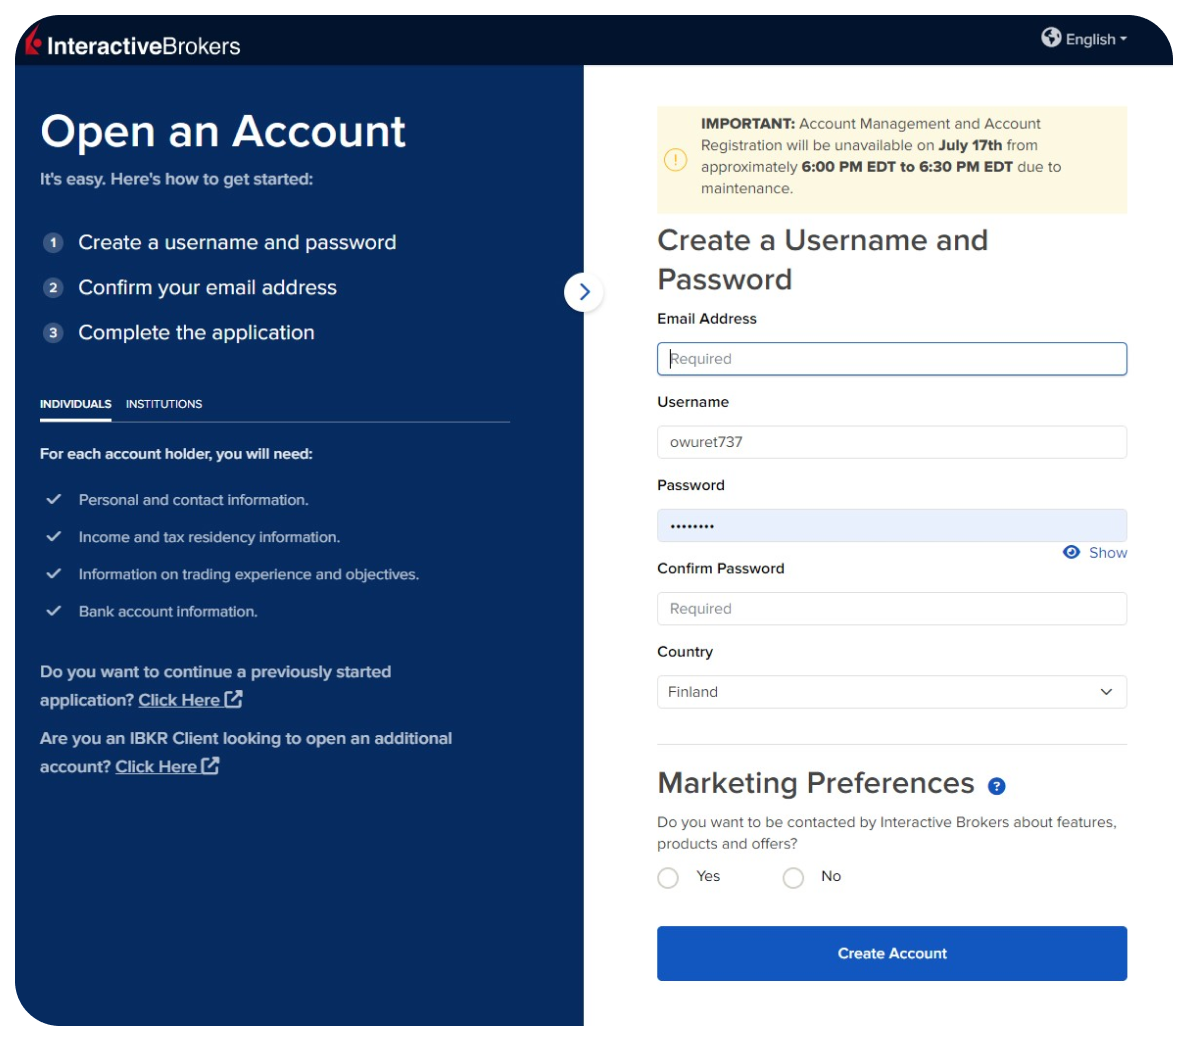
It's best to fill out the application in English since using other languages might cause glitches or errors. If you have trouble understanding specific text on the page, you can use Chrome’s 'Translate Page' feature, and then switch back to English. The application process is pretty straightforward—just enter your email, choose a nickname, and confirm your email address.
It's better to use an email from a well-known provider like Gmail or Yahoo since emails from Interactive Brokers might not get delivered to local service addresses
After hitting the "Create Account" button, you'll get a confirmation email—just keep in mind it might end up in your spam folder.
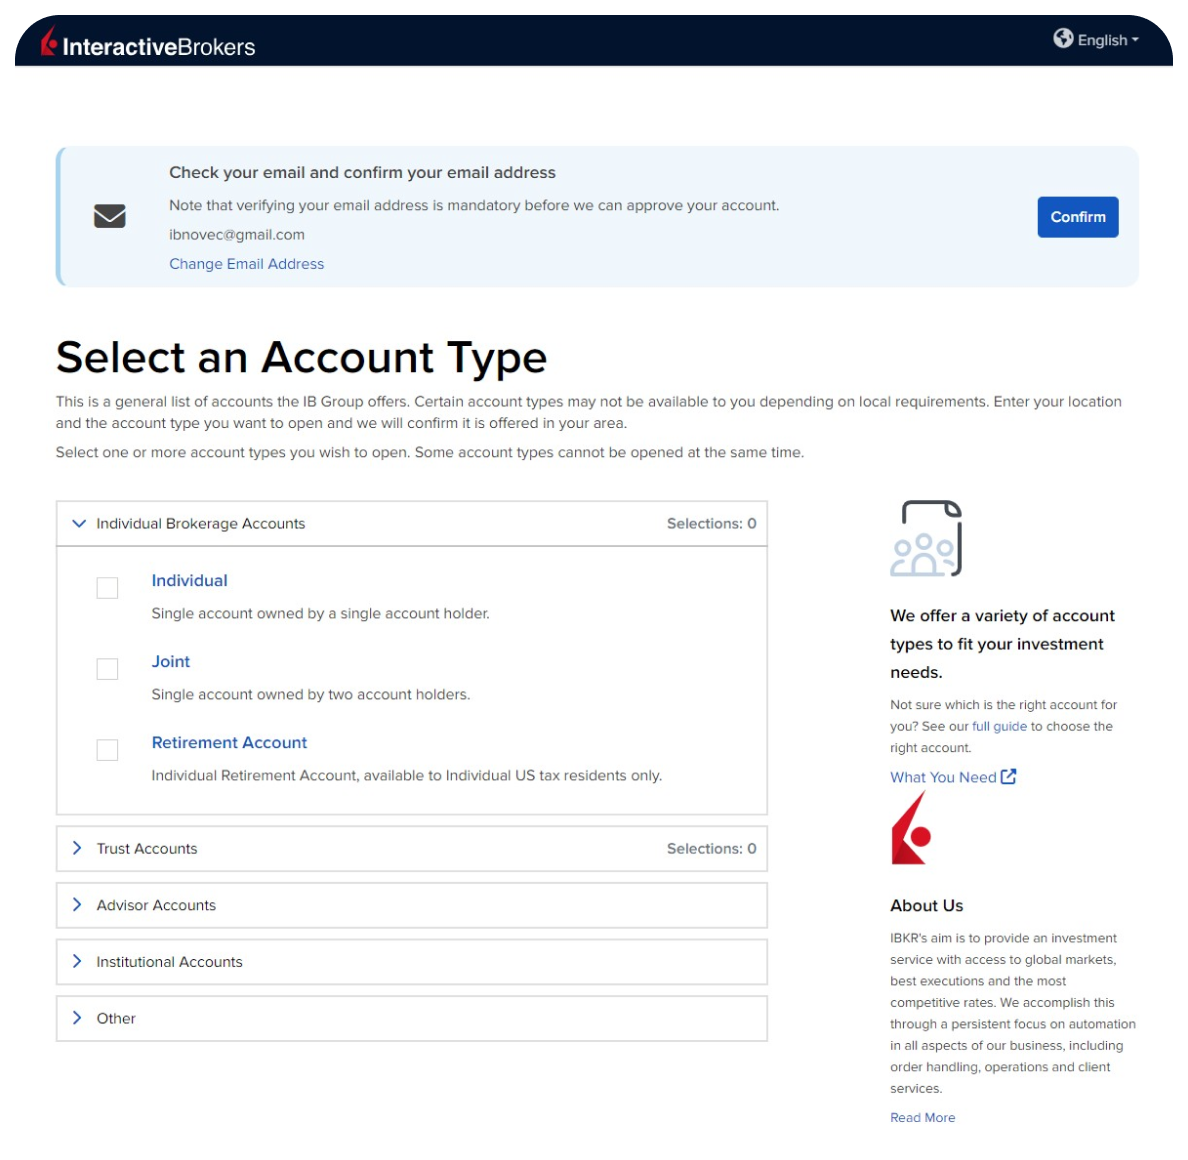
You'll be taken to a page where you can choose your account type. Go with the first option — Individual.
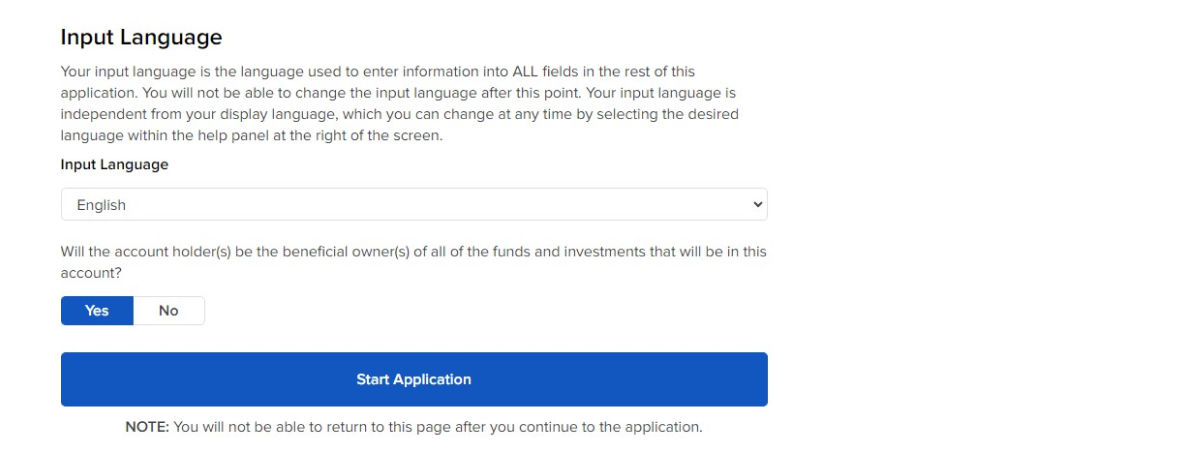
After selecting your brokerage account type, you'll see a window to choose the language for filling out the application. You can fill it out in either the local language or in English. In this example, we'll be filling it out in English. The language choice mostly depends on which passport you'll be using for the application. If you're using your domestic passport, it might be better to complete the application in the corresponding language.
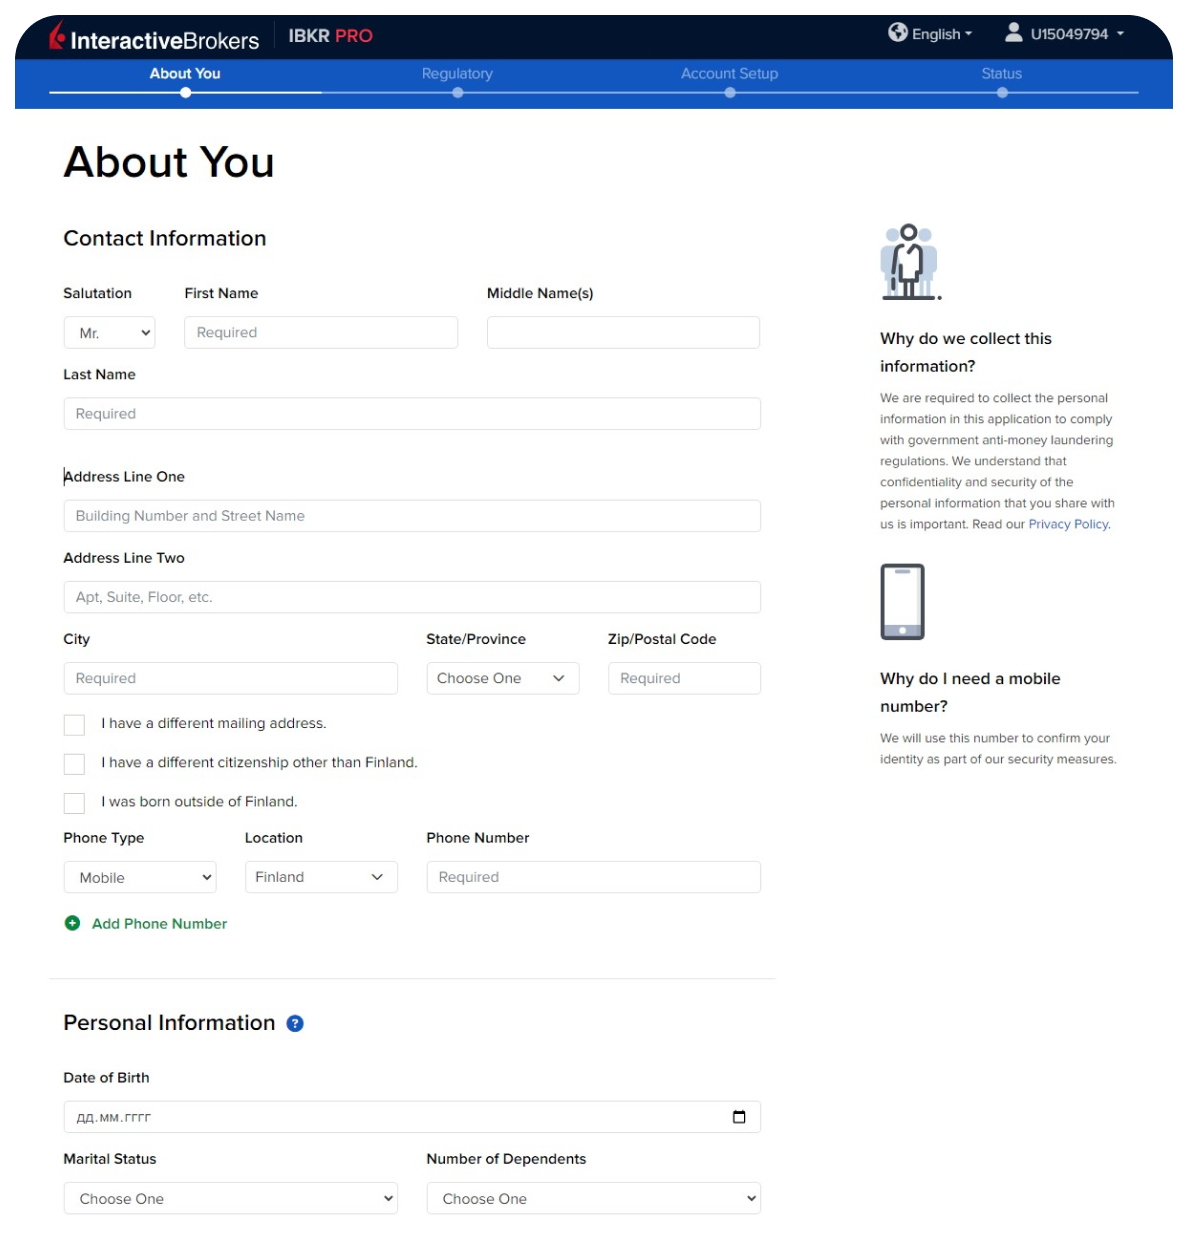
Contact Information:
Full Name: Enter your full name exactly as it appears on your ID. You’ll need to upload a scan of this document at the end of the application process. If your name is in a different language, it’s best to provide the Latin characters as well to speed up the processing.
Mailing Address: Enter the address where you currently live. Occasionally, IB may send documents about your stock purchases by regular mail, although these are generally not needed.
If your residential address is different from your registered address, check the box and fill in the details.
Phone Number: Provide a real phone number where you’ll receive messages from IB.
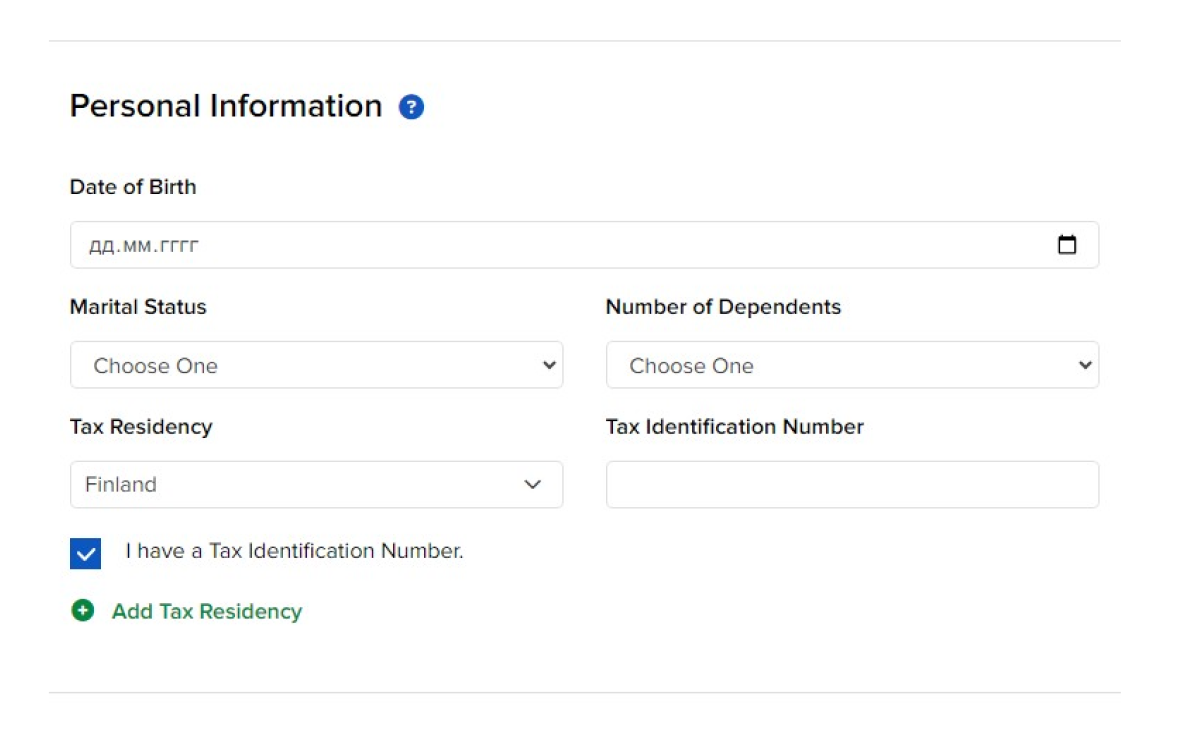
Personal Information: Make sure to enter your local Tax Identification Number (TIN). It’s called different things in different countries, but the form accepts all types.
Employment Information: It’s crucial to provide accurate details here because IB might request documents to verify your employment status. If you indicate that you are employed, IB might ask for a letter from your employer.
For the field “Are you or any of your immediate family members employed by or registered with a broker-dealer, investment advisor, or any other financial services company?”
It’s generally better to select “No” here. However, if you work in the financial sector, like at a European bank offering brokerage services, you are legally required to notify your employer about opening a brokerage account. In this case, select “Yes” and fill in your employer’s details.
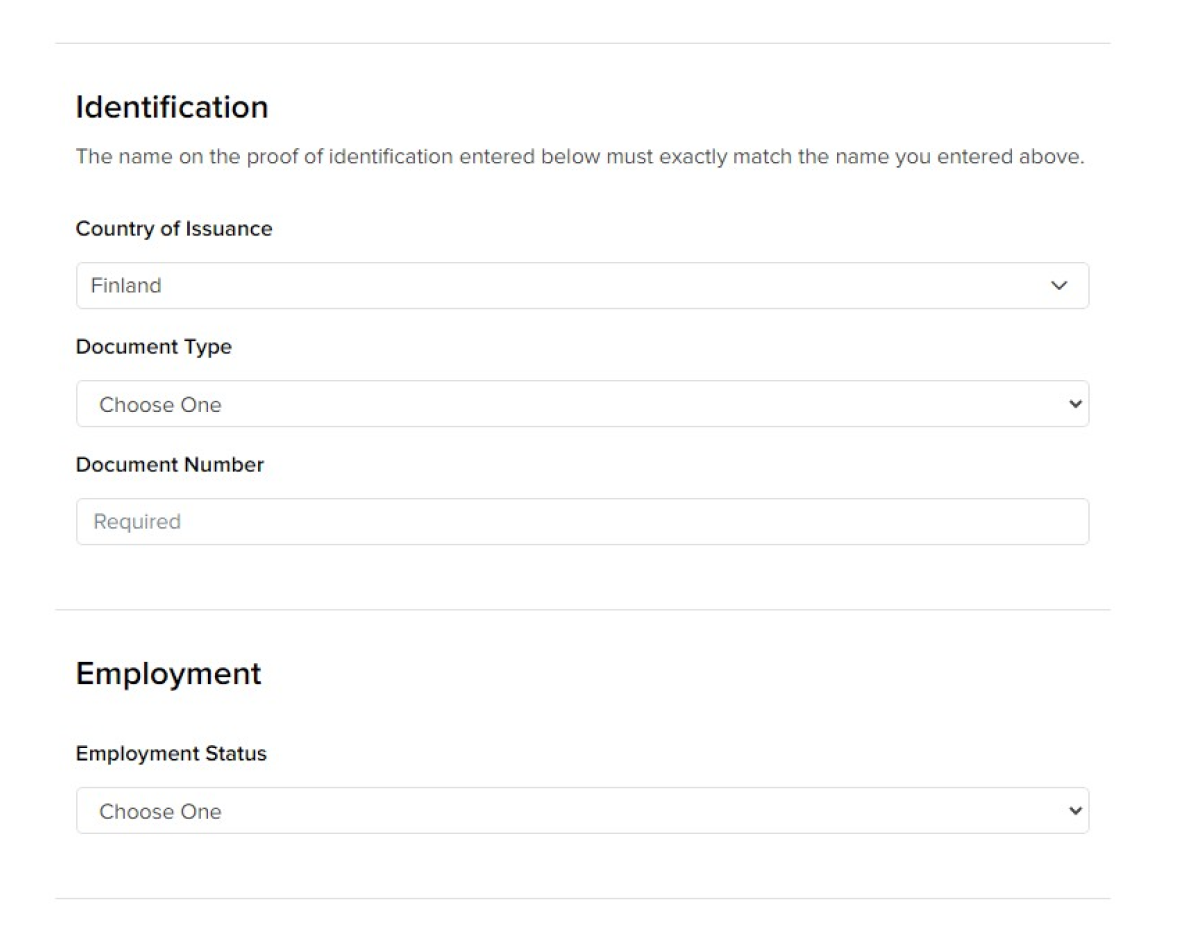
Sources of Income: In this section, you'll need to specify your sources of income. Keep in mind that IB may request documentation to verify the income sources you declare.
It's recommended not to list income from the stock market or dividends. If you do, IB might require a set of documents to be filled out according to U.S. regulations, which can be quite complex to complete. It's better to avoid mentioning this, especially if your market income is relatively small.
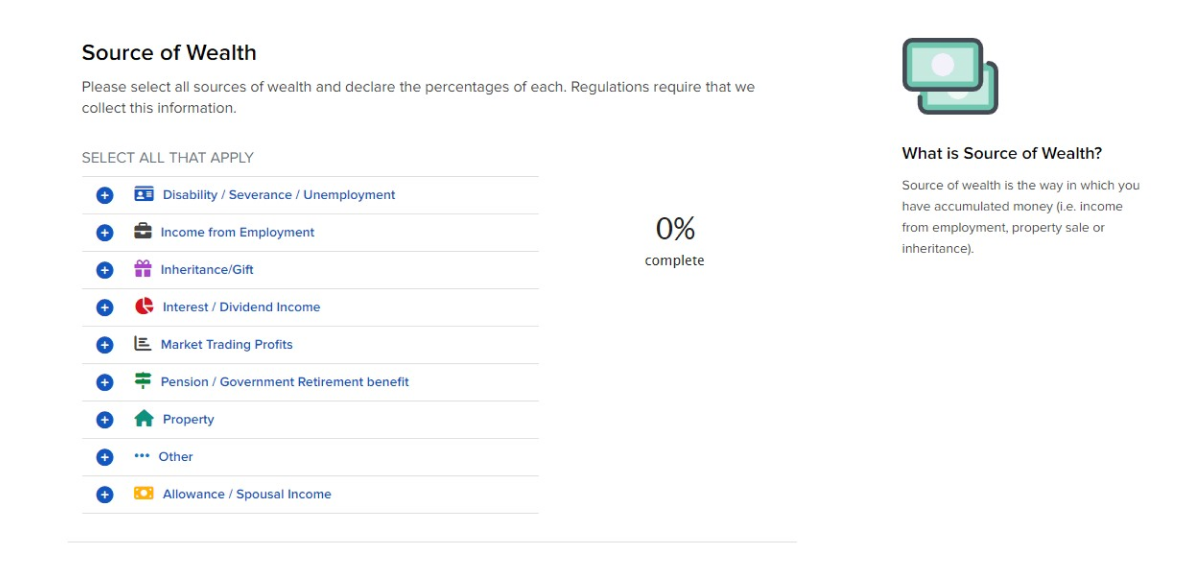
The last section of this part of the application is Base Currency — the primary currency in which you’ll be depositing and withdrawing funds. This can be changed later in your account settings. If you don't have any specific preferences or don't plan on trading exclusively in a particular market with its currency, it's best to select the U.S. Dollar. However, if you reside in Europe, it might be better to choose the Euro.
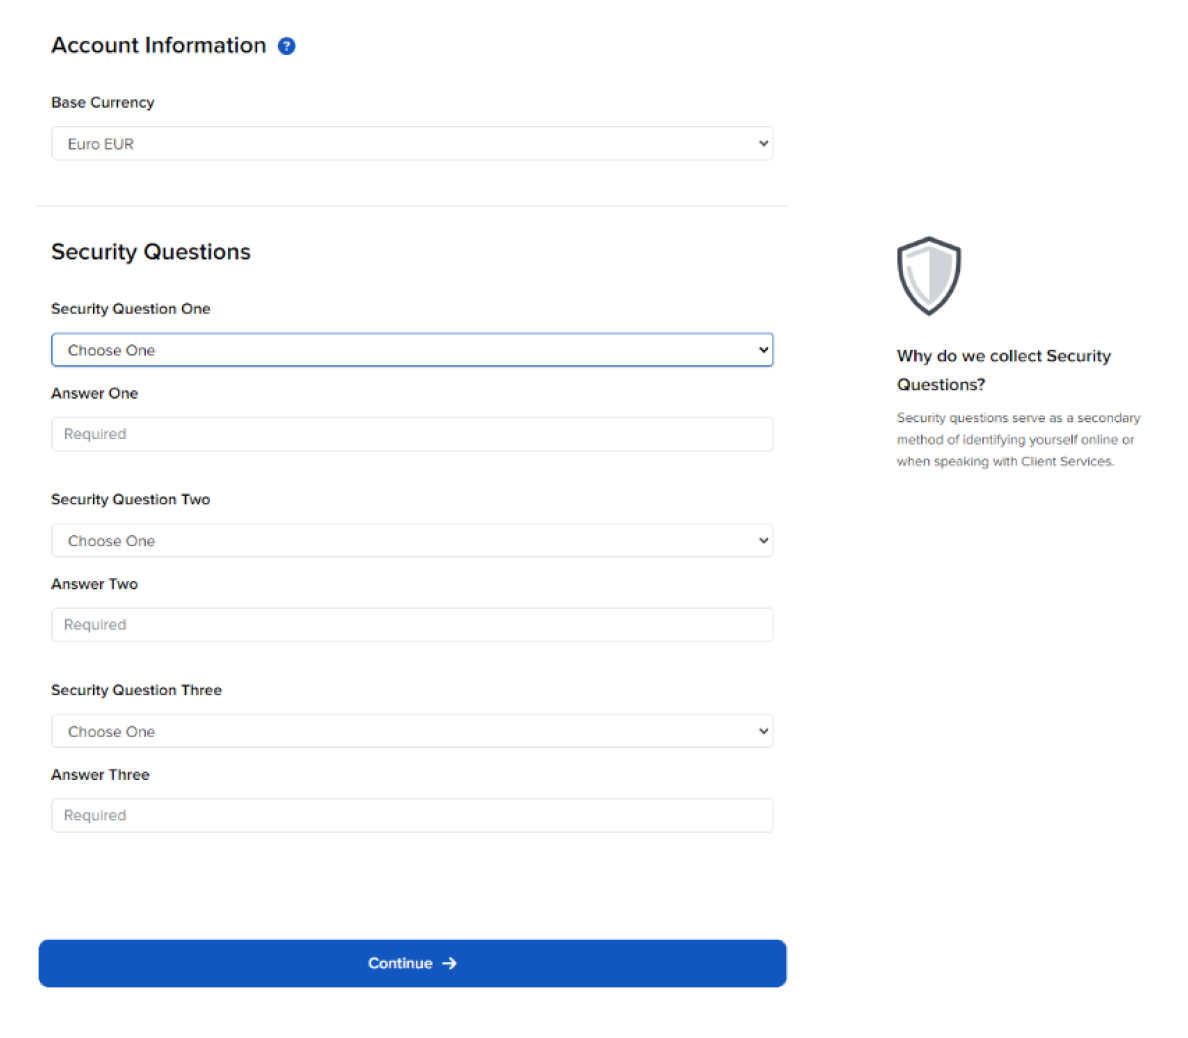
Security Questions for Account Recovery: This section is straightforward and should be completed as per the instructions provided.
Next, your mobile phone number will be verified via SMS, and you’ll proceed to the next section of the application for creating your account. Sometimes, the SMS doesn’t arrive immediately, but this won’t interrupt your progress with the application. A notification at the top of the page will remind you to verify your phone number.
Account Type
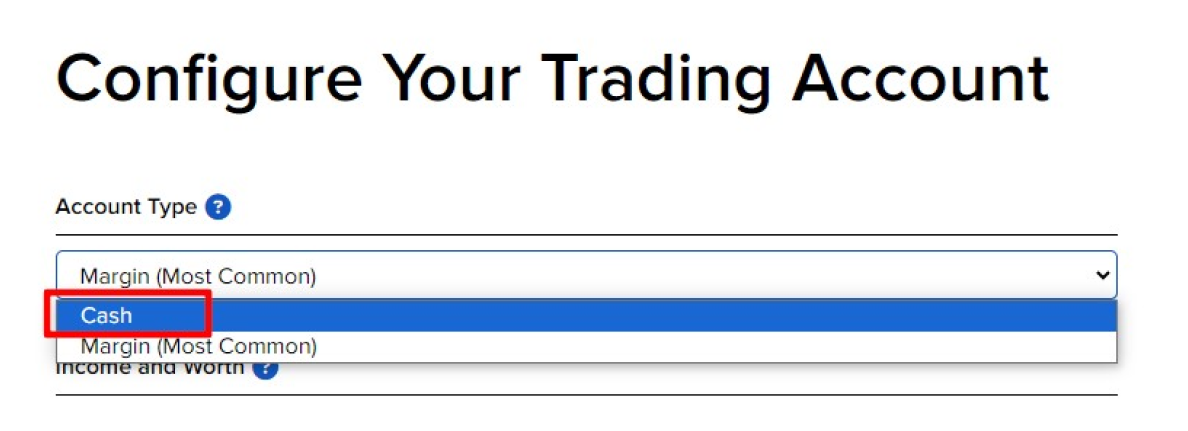
The first menu on this page is crucial because it determines the type of trading you’ll be doing—whether on margin or only with your invested funds. By default, the account type is set to margin trading, so make sure to change the account type to Cash.
Cash: This option allows you to trade only with the money you’ve deposited. Investors must be at least 18 years old. There is no minimum balance requirement.
Margin: This option allows you to borrow money from the broker to trade. Investors must be at least 21 years old. If the account balance is below $25,000, there will be restrictions on the number of trades you can make per day.
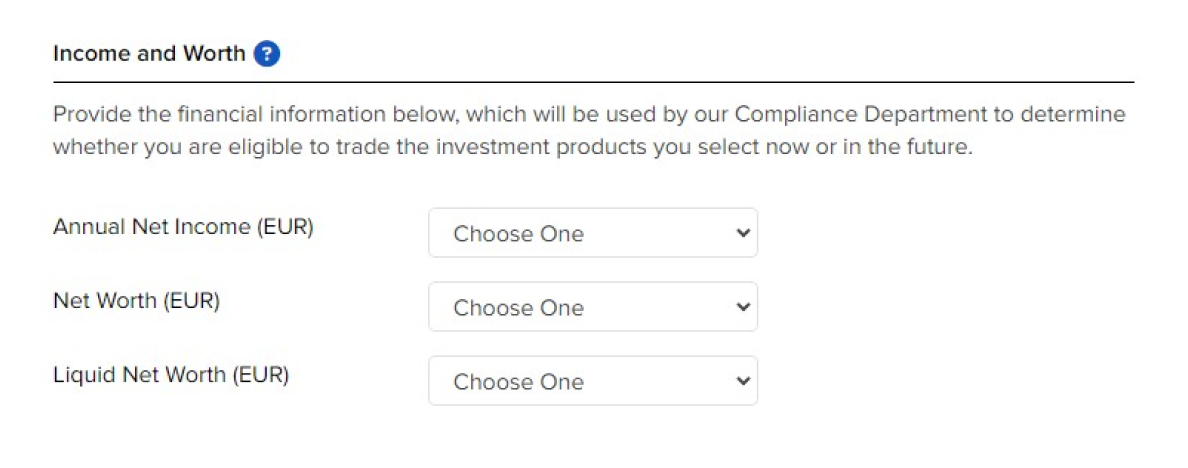
The second section on this page asks for information about your annual income and the value of your assets. It’s recommended to provide approximate figures without exaggerating, as IB may request verification, although this is not typically done.
Net Worth: This includes everything you own that can be converted into money, such as your house, car, land, and cash in your bank account.
Liquid Net Worth: This refers to assets that can be quickly sold and turned into cash. A house wouldn't count as a liquid asset, but stocks on the stock market would.
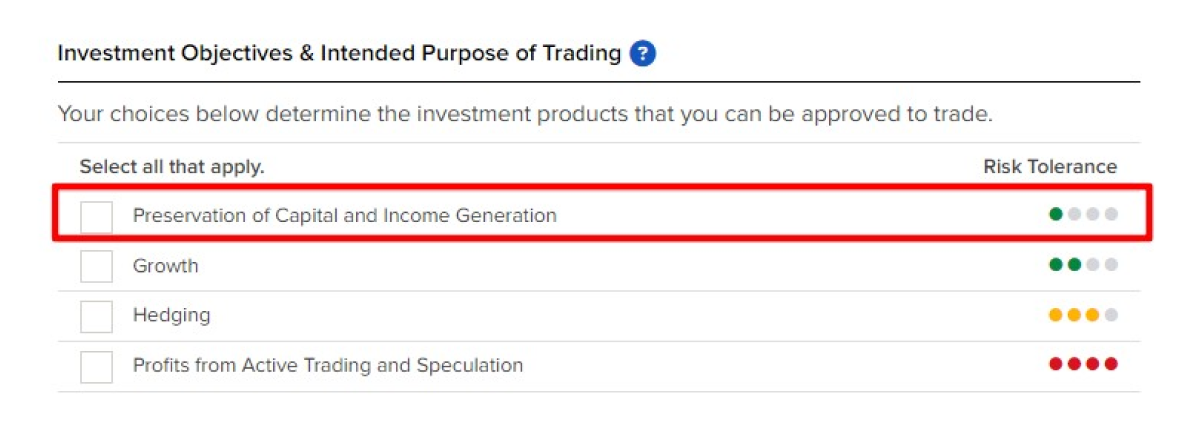
The next section concerns your investment objectives. It's important that these objectives align with the type of account you’ve selected:
If you chose Cash, appropriate objectives would be "Growth" and "Capital Preservation and Income".
If you selected Margin, objectives like "Speculation" or "Active Trading Profits" would be more suitable.
Next is the section about your trading experience. It’s best to be truthful here to avoid the platform aggressively pushing margin trading options. For margin trading experience, indicate that you have none.
To avoid restrictions on your trading capabilities, you can set:
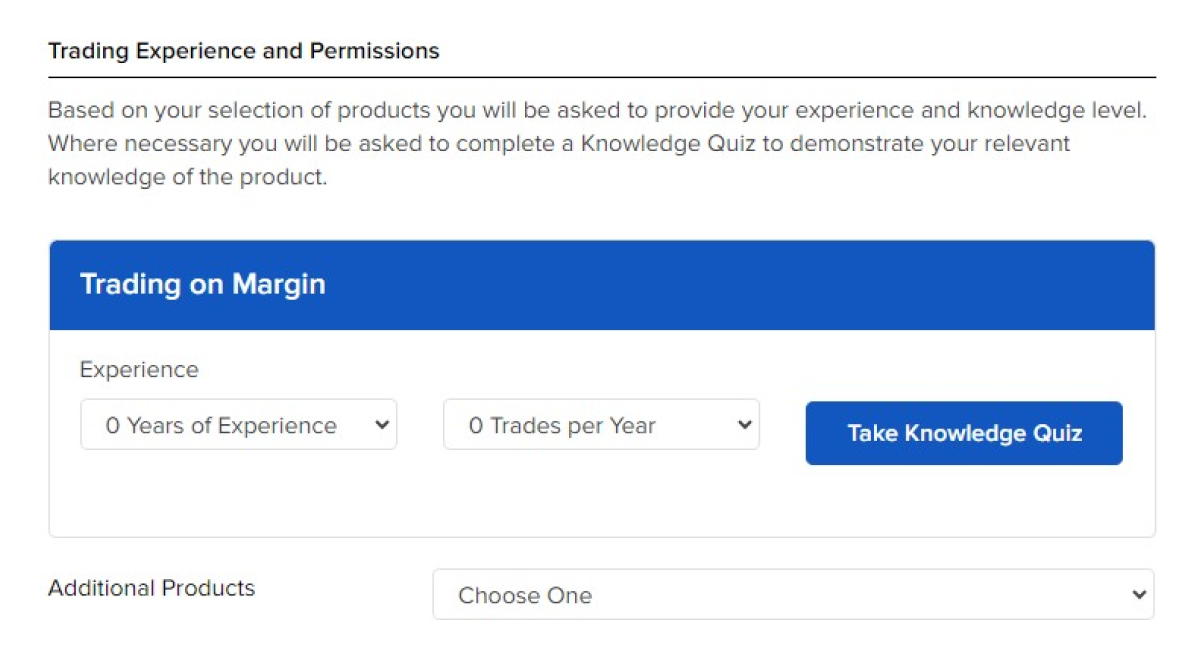
Trading experience with stocks – it’s better to enter minimal experience to gain access to all markets and select all countries in the list, so you won’t need to request access to markets later if you want to buy something. As a result, this section might look like this:
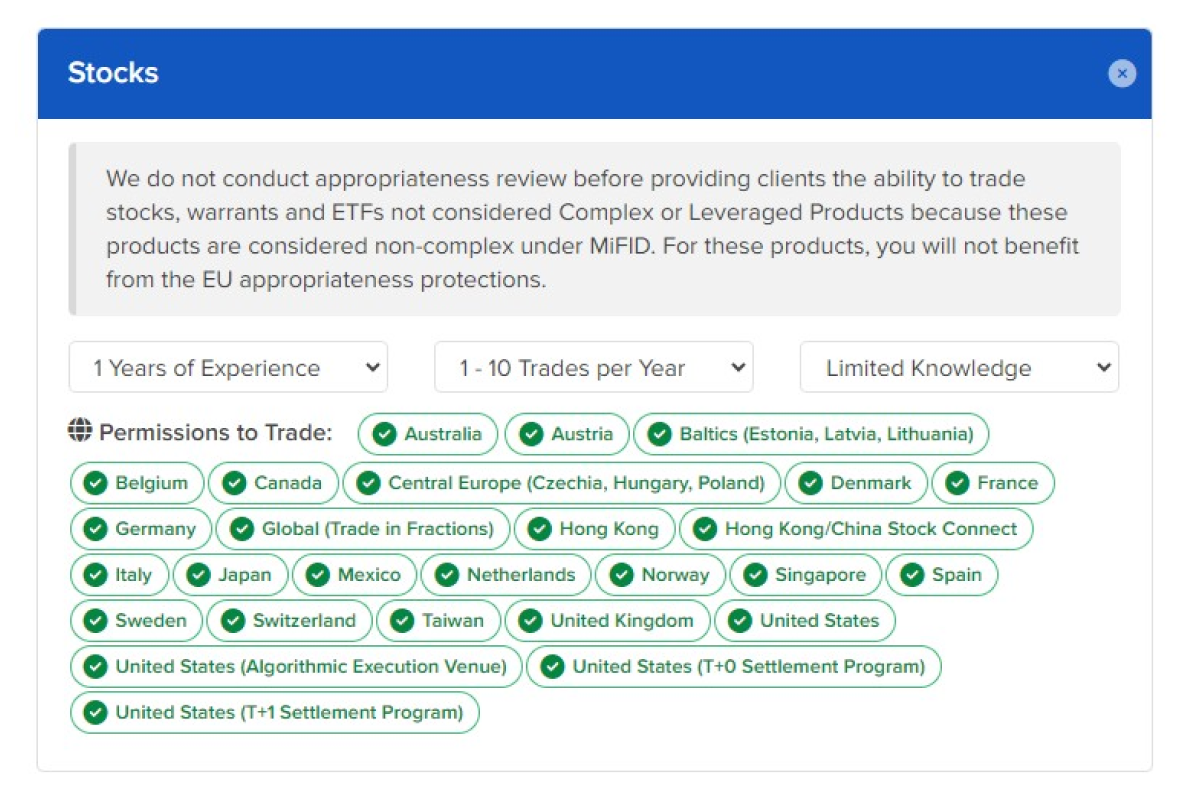
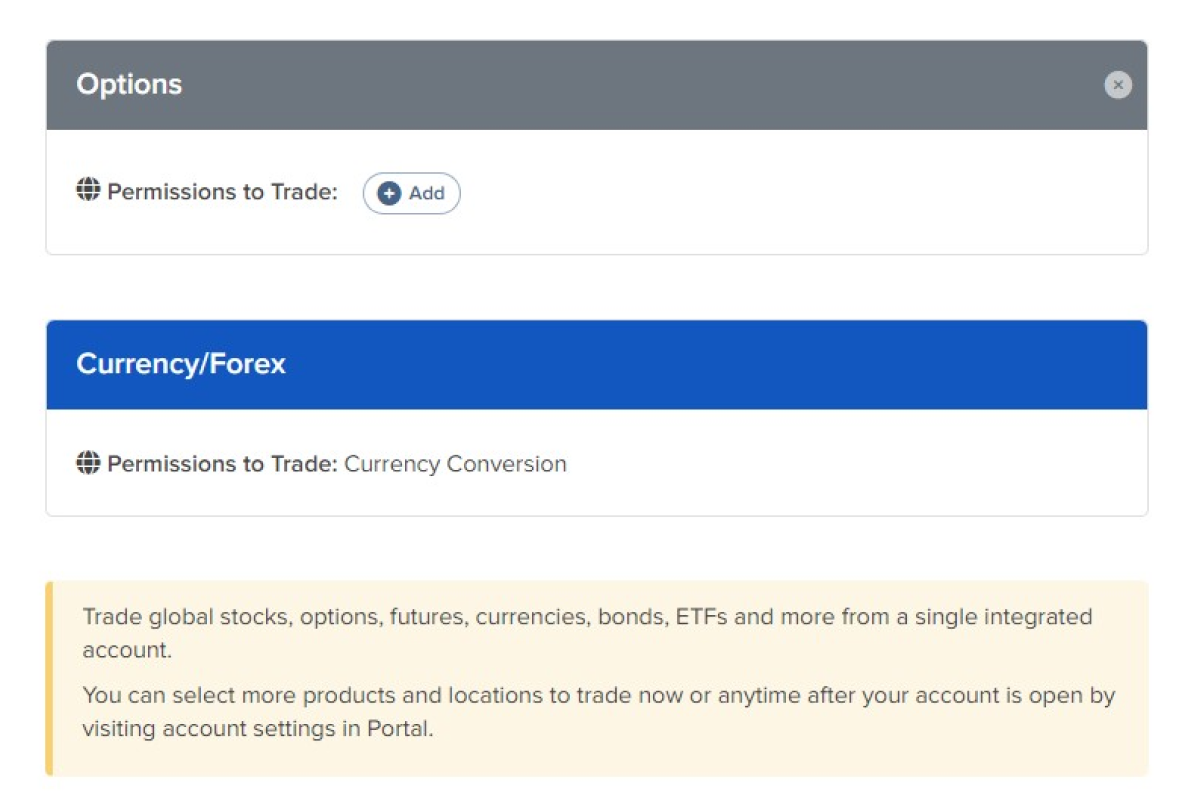
Next, you'll be asked if you want to trade options and on the Forex market. It's best not to choose these options and stick to stock investing for now. Later on, if you get a clear understanding of how to trade in these markets, you can enable them in your account settings. When you select access to stocks, you'll also automatically get access to ETFs based on stocks, and the same applies to bonds. Make sure to select the countries whose assets you want to buy.
Regulatory Information - In this section, you’ll be asked whether you or your relatives own any assets. It’s best to leave all switches set to 'No.'
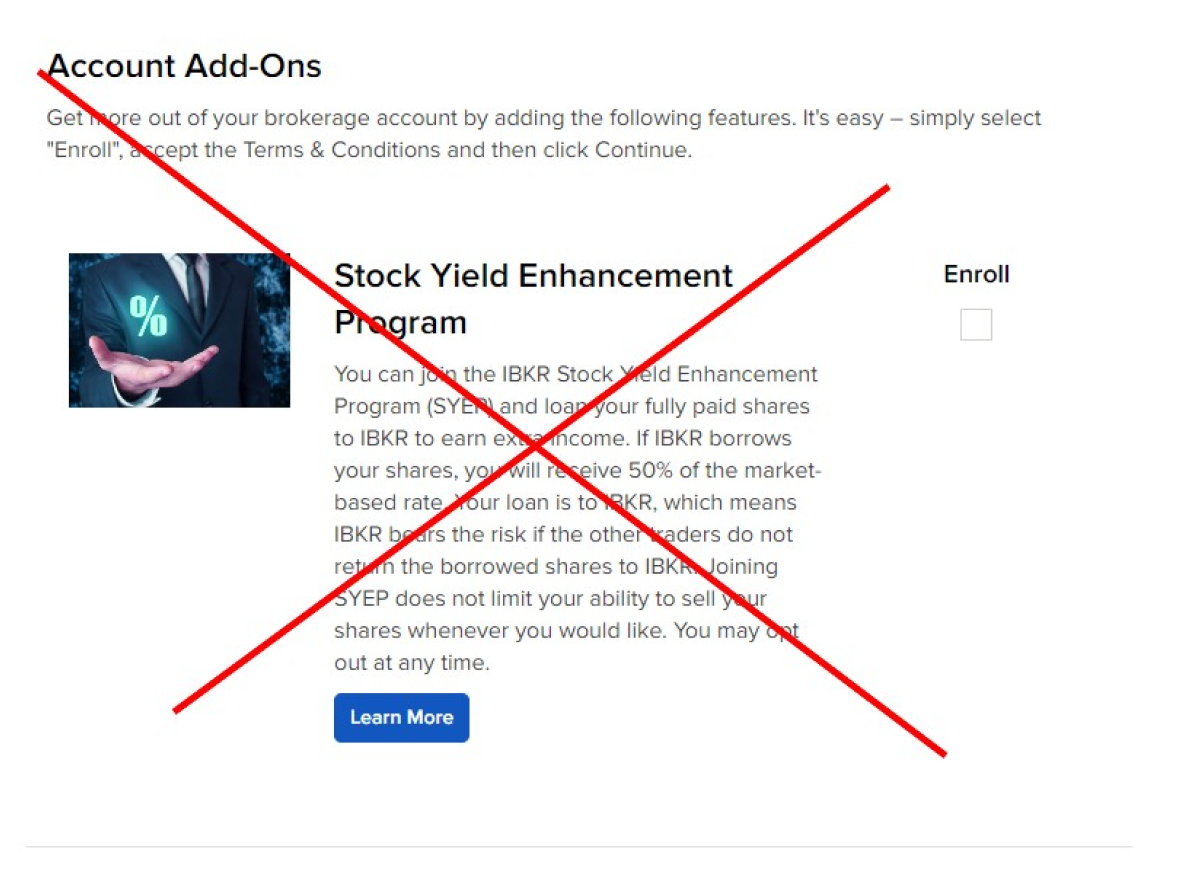
Supplementary section: Here, they’ll offer you the option to register in a separate service that allows others to borrow your shares on credit. It’s better not to do this.
Next Step: Confirm Your Tax Residency (W-8BEN Form). Here, you'll confirm your information to ensure lower tax rates. This will apply if the U.S. and your tax residency country have a tax treaty to avoid double taxation. You can check if your country has such a treaty on the U.S. tax authority's website
All fields will be auto-filled based on your previously entered data. You only need to indicate in which country, besides the U.S., you are required to pay taxes.
In the "Claim of Tax Treaty Benefits" section, check the box "I certify that I am a resident of the country listed below within the meaning of the income tax treaty between that country and the United States" and select the appropriate country.
Document Upload Section: Attach a photo of your passport and proof of address. This step is mandatory; without it, your application will not be submitted for review.
This item is mandatory, without it, the questionnaire will not be checked.
You will also be prompted to fund your account without waiting for approval. Future transfers can be made using the same template.
After this, your application should go through the review process, which usually takes 2-3 days. You’ll receive an email notification once it's complete. IB may continue sending various offers before approval, such as funding your account, which you can skip.
A transfer of 50-100 euros at this stage might speed up the review process and give you some practice in making transfers. Future transfers can be made using the same template.
If your account is not approved, you’ll receive a rejection message without a specified reason. Support inquiries or calls to the call center won’t help. You can simply fill out the application again and resubmit it for review, thinking about what to change to improve your approval chances.